11 Interior Painting Mistakes Almost Everyone Makes (and How to Avoid Them)

While an interior painting project can seem like the perfect way to spruce up our homes, there are many ways this fun DIY project can yield less than impressive results. Surprisingly, the biggest mistakes that can occur when interior painting are often more to do with minor oversights in preparation rather than technique. For example, many mature painters overlook priming the wall, rushing that second coat of paint or even merely, not picking the right tool for the job.
To help avoid these mishaps, we've rounded up eleven of the most common interior painting mistakes and their solutions. So put that paintbrush away, and read on to ensure only the best results.
1. Not using painter's tape
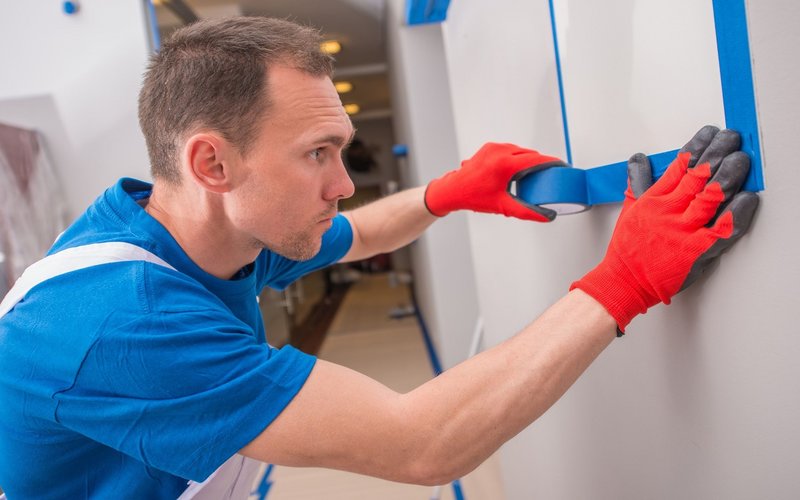
When decorating, painter's tape is your number one protective material with the ability to reduce paint, ensuring crisp edges and leaving a neat, professional line between surfaces. For instance, if you want to paint only particular areas of a surface with decorative trims painters tape is to the rescue. Painters tape also protects the corners of the room, light switches and door and window frames. With painters tape, you can say goodbye to splotchy results and hello to a clean, professional finish.
Tips for using painter's tape:
- Make sure the surface is clean before applying the painter's tape
- Don't remove the tape until the paint has completely dried
- Ensure the tape is tightly sealed along surface edges.
- Score the edge with a putty knife before pulling the tape off
2. Not preparing the surface for paint
The success and durability of your paint job will mostly depend on the preparation of your surface. Most of the understanding of why a primer is used, yet preparing the actual surface is one of the most commonly skipped steps made by amateur painters. While many feel a new lick of paint can cover those dirty walls, it's by failing to remove the dirt that leaves you with a bad paint job. Preexisting dirt, oil, scratches, cracks, bubbles holes or any other wall surface imperfections can lead to faults like uneven paint spots and paints that chips and peels off easily. For the best results, make sure your first step is scrubbing down those walls!
Tips for preparing the surface:
- Clean the interior surface with mild soapy water
- Let the surface dry before you start sanding and filling the holes with a surface filling solution.
- Prime the surface with one coat of primer paint and allow it to dry thoroughly. Once it's dry, your interior wall surface is all smooth, ready to be painted.
3. Skipping the primer
Now that you've got a clean surface, its time to prime! As an essential part of creating a long-lasting, smooth finish, this is a step you won't want to skip. Primer also helps in bringing out the actual colour you've selected by sealing in the paint to the surface and helping the pigment better adhere to your walls.
When to use a primer:
- On new drywall or unpainted wood as both of the surfaces are very absorbent
- Before repainting over glossy or oil-based paints, so the fresh coat paint sticks better to the surface
- To conceal any surface stains or odours
- Before repainting a previously painted surface from dark colour to light colour or vice vers
4. Picking the Wrong Paint Sheen
Now that we've covered preparation, it's on to the paint itself. By using the wrong sheen for your interior wall, you can end up creating a completely unintended look and feel. When it comes to finishes, there are many to consider including; gloss, semi-gloss, flat and matte, to name a few. The sheen in colours determines the glossiness of the applied interior paint once it's dry.
While the level of sheen comes down to your personal preference, some finishes work better than others in specific scenarios. For instance, ceiling surfaces are not always as smooth or perfectly finished like the interior walls, which makes ceiling painting a bit more challenging. Using a flat or matte paint on these surfaces can make these imperfections less visible.
The glossier sheen, on the other hand, reflects light and highlight surface imperfections prominently. So for wall surfaces, it's better to use a satin or semi-gloss paint to make a fair balance. It will also protect the surface from moisture penetration that can lead to mould and mildew growth.
5. Choosing the low-quality paint
Now that you've picked your finish, it's time to examine how to choose the correct type of paint for the job. After all, there's nothing more frustrating than putting in the preparation only to find that some lacklustre paint formula, ruins the end result.
Here are some of the tips for choosing the right paint-
- Look for what primers and undercoats are needed for the best results.
- Check the sheen. Higher sheen paints tend to be more vibrant and long-lasting; however, you'll need to find a balance as to the shine on your surface.
- When you buy paint, go with reputable painting brands. Quality painting brands offer painting characteristics, such as warranted longevity and washability.
- Last but not least, consult with a professional painting expert regarding your quality paint options and selection.
6. Not comparing paint samples in the room's light
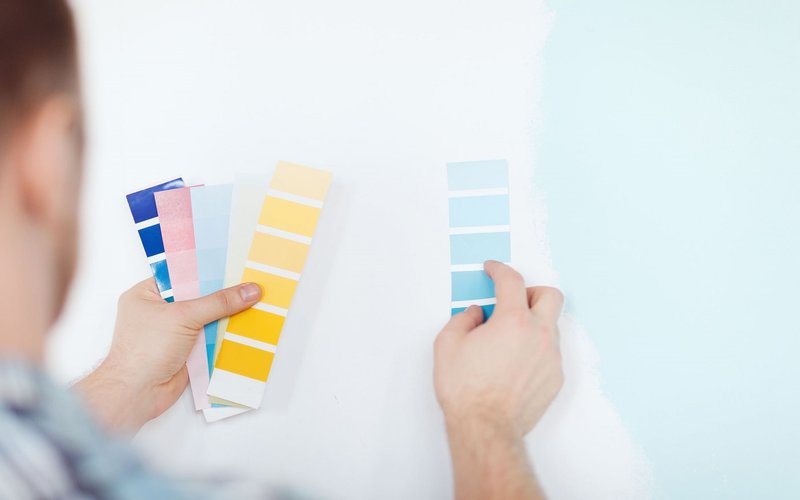
Continuing from our last painting tip, when testing your paint, it's
essential to consider the room's natural and artificial light source.
Just because a paint colour looks pretty under artificial fluorescent
lighting, it doesn't mean it will look equally good under the room's
natural light as well.
To avoid this mistake, consider selecting a handful of colours for your room and comparing them under natural light and your artificial lights to see how the colours change.
7. Not testing the paint colour beforehand
When choosing the right paint, it may be tempting to buy a tin and call it a day. However, the reason test pots and paint samples were invented, is to make sure you get the right match for your surface! The paint in the tin will rarely look the same once it's on your walls, so take advantage of what's available to you and get testing!
Here are some tips on how to properly test paint against your surface-
- Paint the samples directly on the wall to see how the paint saturates the surface
- Consider testing on multiple walls as the same shade of paint may look different on different walls and lighting
- For some saturated or super bright paint colours, consider testing it by applying primer before two coats of the paint.
8. Painting in unsuitable conditions
While you won't need to look out for rain when painting your interior, it doesn't mean there aren't conditions you should avoid. These include; poor ventilation, excessive humidity, freezing temperature or even chemical contamination from the products used to prepare the surface. In these conditions, the paint gets exposed to a considerable amount of moisture or chemicals, making it difficult for the paint to adhere and dry evenly, leading to eventual cracking and flaking.
So for the best painting result, choose the winter season as, during winter, the moisture in the air is limited, which helps the paint to create a better bond with the interior surface.
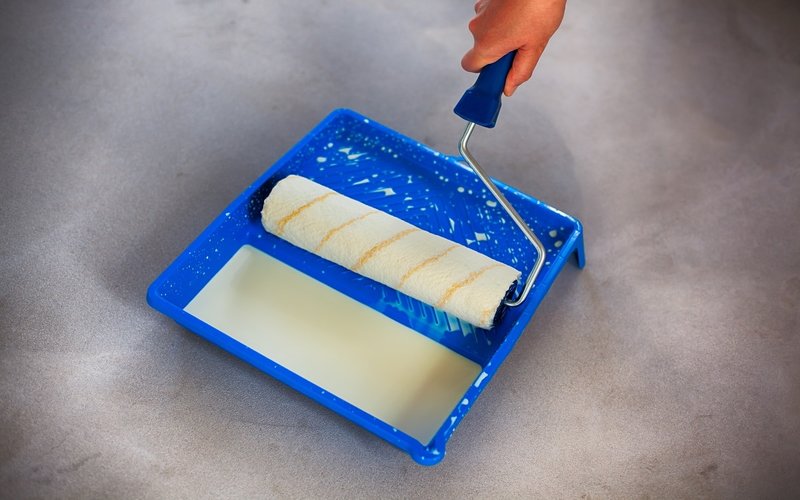
9. Using the wrong painting tools
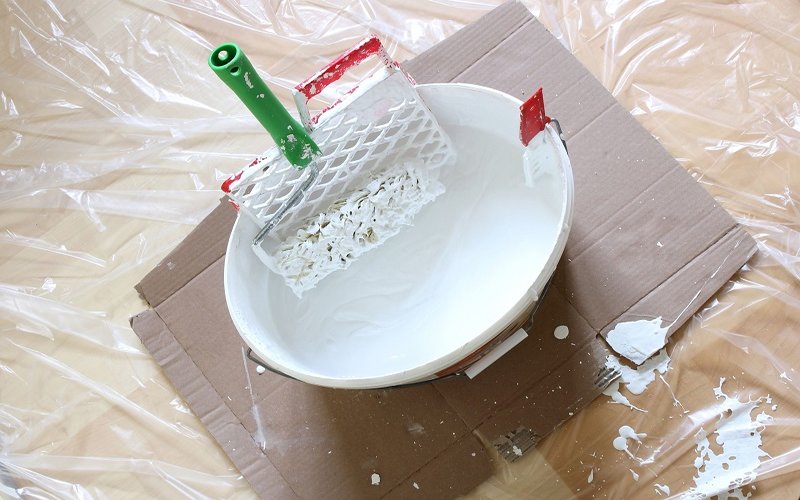
On to the next step, it's time to consider your painting tools! A crucial part of getting your desired results is knowing which tool or brush is right for the job. In an interior painting job where a long-lasting finish, is the goal, choosing high-quality equipment is needed to achieve that uniform surface coat and finish.
Types of paintbrushes:
We can divide paintbrushes into two categories, natural-hair bristles and those made with synthetic materials, like nylon or polyester. Natural brushes or synthetic brushes can be used to apply both alkyd or oil-based paints and coatings while latex coatings should be applied with a polyester brush.
A stiff brush should be used as it will hold more paint on it, while smaller brushes should be used for more delicate detailing around corners, frames and fixtures.
Types of rollers:
Most of the paint roller covers are made of woven materials and nap covers. Thick 3/4″ nap roller covers can hold more paint and perform better on the rough surfaces of concrete, decks and bricks. For ceiling and drywalls, medium 3/8″ nap roller covers are the best choice. Interior walls are best suited to a small 1/4″ nap roller covers, or foam rollers can perform the smoothest finish. For textured light to medium surfaces, microfibre rollers are the best option.
10. Missing surface spots and uneven lines
When painting your interior surface areas around the corners and edges, missing a spot or not apply enough paint will cause heavy shadows to cast on your paint job. The chance of this mistake is higher if the surface is trimmed. If you do see a gap, you'll need to let the entire surface dry before you go back in to retouch.
Once the previously painted areas are dry, blend the edges and corners with fresh coats of paint carefully without disrupting the previous paint, with the help of painters' tape that we discussed earlier. Take the tape off gently as soon as the retouching is done, using something sharp to score along the edge of the tape while you peel it back.
11. Overbrushing
Brushing over the same area even after the paint has started to dry is a technical mistake, mostly caused by inexperienced hands. Aimless brushing or applying too much paint to a brush causes visible ridges and marks on our surface. For a rich and smooth finish, it's important to gradually build up your paint evenly and with consistent brush strokes.
For the best results, when painting your interior, hiring experienced, and affordable residential painters in Sydney will relieve the stress of DIY and leave you with a perfect, lasting finish every time. Being in the business for over 20 years, our experts are with you every step of the way!