How to Paint Your Interior (In A Logical Order)

By Tony Conway, Managing Director, Premier Painting Company
Quick answer: Start with surface preparation, then paint top-down: ceiling first, trims second, cut-ins third, and walls last. This sequence prevents drips landing on finished surfaces and keeps the job logical from start to finish. With 28+ years of residential painting across Sydney, Central Coast, and Wollongong, Premier Painting's advice is to never skip the prep. It's what separates a lasting finish from one that fails within a year.
So you've decided to go the DIY route, and paint the interior of your house yourself. But where do you start? Which part of the house should you paint first?
You could try asking a question in an online painting forum, but be aware that there is a lot of debate. Some say you should paint your trim before painting your wall colour, while others argue that it's necessary to paint your wall first to get a clinical finish. What should you do? A lot of it actually comes down to personal preference, and your individual level of expertise.
Paintable areas can be divided into the following categories, and one good approach is to paint your interior in the following order.
- The ceiling
- The trims: the corner mouldings of doors, windows, ceilings etc.
- The cut-ins: where a wall meets the ceilings, doors, windows and floor
- The walls
Prepare the Surface Before You Pick Up a Brush
Surface preparation is the step most DIYers rush or skip entirely. It's also the step that most separates a paint job that looks good for a decade from one that starts peeling within two years.
Before any paint goes on, work through the following:
- Clean the walls. Wipe down all surfaces with a sugar soap solution to remove grease, dust, and grime. Any surface contamination will prevent the new paint from bonding properly.
- Fill holes and cracks. Use an appropriate interior filler for any nail holes, hairline cracks, or dents. Allow to dry fully before proceeding.
- Sand smooth. Sand filled patches and any areas where the existing paint is rough or showing brush marks. For previously painted walls in good condition, a light scuff sand with fine-grit paper improves adhesion.
- Prime where needed. Apply primer over bare plaster, heavily patched areas, surfaces switching from oil-based to water-based paint, or anywhere you are making a significant colour change. On stable, previously painted surfaces in similar colours, a quality topcoat alone may be sufficient.
In Sydney homes, particularly older properties, this step also means checking for issues like peeling paint, mould behind the surface, or areas of rising damp. Painting over these without addressing the underlying cause will not fix the problem. If in doubt, have a professional assess the substrate first.
Pro insight: Many DIY paint jobs fail not because of bad technique during painting, but because the surface wasn't properly prepared. Clean, filled, sanded, and primed: that checklist is what gives any new coat of paint the foundation it needs to last.
Choosing the Right Paint Finish for Each Surface
One of the most common questions homeowners ask is which sheen or finish to use in each room. The sheen you choose affects both how the surface looks and how it performs over time. The table below covers the recommended finish for each surface type.
For walls in living areas and bedrooms, low-sheen acrylic is the standard choice across most Australian homes: it's forgiving of minor surface imperfections and easy to maintain. Semi-gloss or gloss for trim and doors adds practical durability where surfaces take the most wear.
If you want to explore paint finish options in more detail before buying, the guide to different paint finishes covers this topic thoroughly.
Paint the Ceiling First
The ceiling of an interior should be painted first, as this is the area where we have the least control. Paint will almost definitely fall on the floor, and a little might even get on the walls; but that won't matter much as they are going to be painted later.
For the best results, use ceiling-specific paints, as regular paints are thinner; the thicker ceiling paints tend to drip and splatter less, resulting in a better finish.
Roll the ceiling in overlapping passes, working from one end of the room to the other. Cut in along the ceiling-wall junction with a brush first, then bring the roller up to cover the brushed edge while it is still wet. This wet-edge technique prevents a visible line forming between the cut-in and the rolled area.
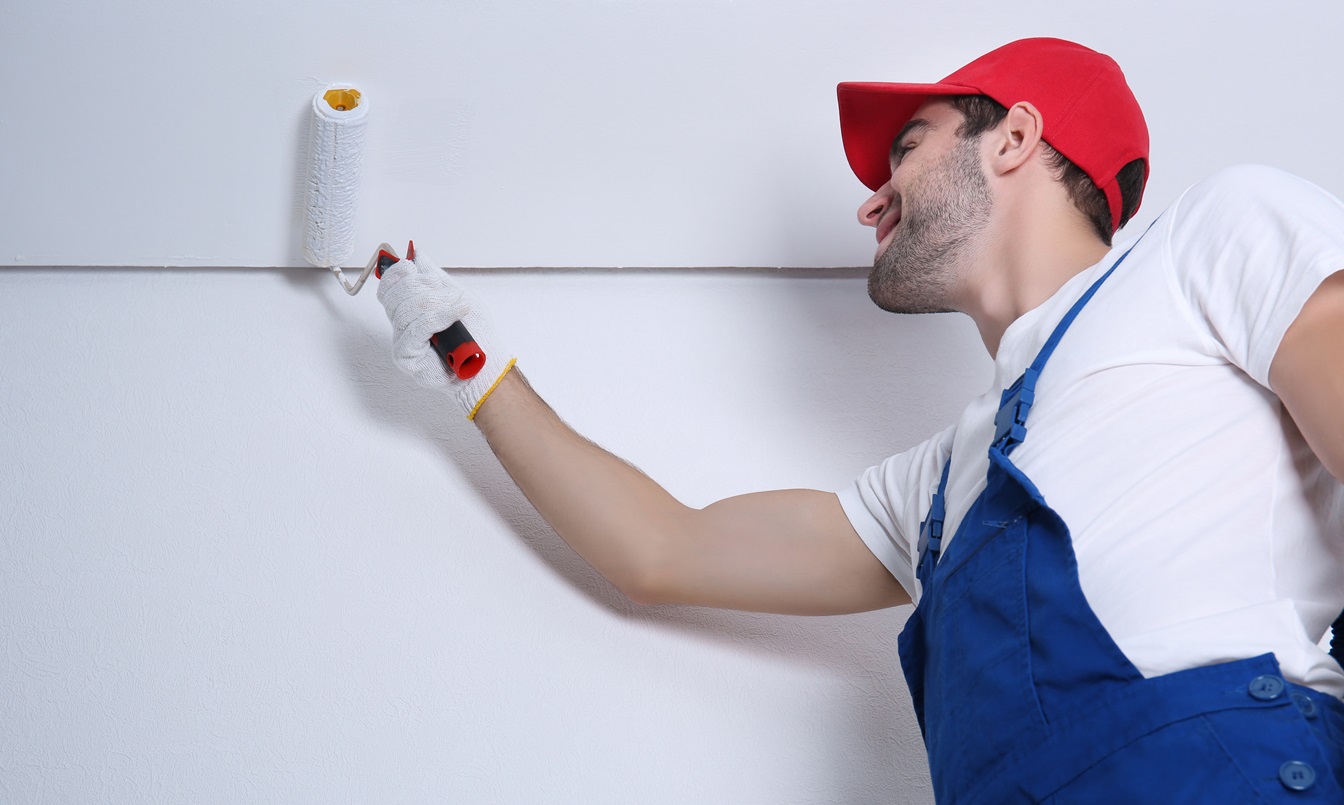
Paint the Trims Next
Once you're done with your ceiling it's time to move onto the trims. This is one of the trickiest parts to get right. A huge plus of painting the trim before walls is that you don't have to worry about a drop or two getting onto the wall. Since it's not such a problem to have some paint touch the walls, the process is much easier.
Use a water-based enamel in semi-gloss or gloss for all timber trims, skirting boards, and door frames. These paints are harder-wearing than standard interior acrylics and hold up well against knocks, cleaning, and general wear in high-traffic areas.
Allow the trim paint to dry fully, ideally 24 hours, before taping off for the walls.
Prefer to have a professional handle the painting from start to finish? Premier Painting's residential painting services cover everything from surface preparation and primer application through to the final topcoat, with a dedicated Project Manager on every job.
Proceed to the Cut-Ins
Painting the cut-ins will require patience and attention to detail. If you're new to this, consider using painter's tape to protect the surfaces you have already painted.
Choosing the right brush as well as the right type of paint is very important. If you happen to use a dark colour which is thin, use softer brushes. If the paint is thick and light, using a thicker, stiffer brush will be a better idea. Stiffer brushes are often used for exterior painting, but the stiffer the brush, the straighter the line of the cut-in. The best brush to be used in this case would be an angled sash brush.
Pro insight: Cut in a section at a time and bring the roller up to meet it while the cut-in edge is still wet. Allowing the cut-in to dry before rolling means the brush marks won't blend in, and you'll end up with a visible line along every edge.
Finish by Painting the Walls
Finally, you need to paint the walls around you. This step is by far the easiest, and many people find it to be the most fun. To get the paint onto the wall you could use a brush or a spray, but the best idea is to get a roller. First, dip the roller into some paint and make sure each side of it is evenly covered.
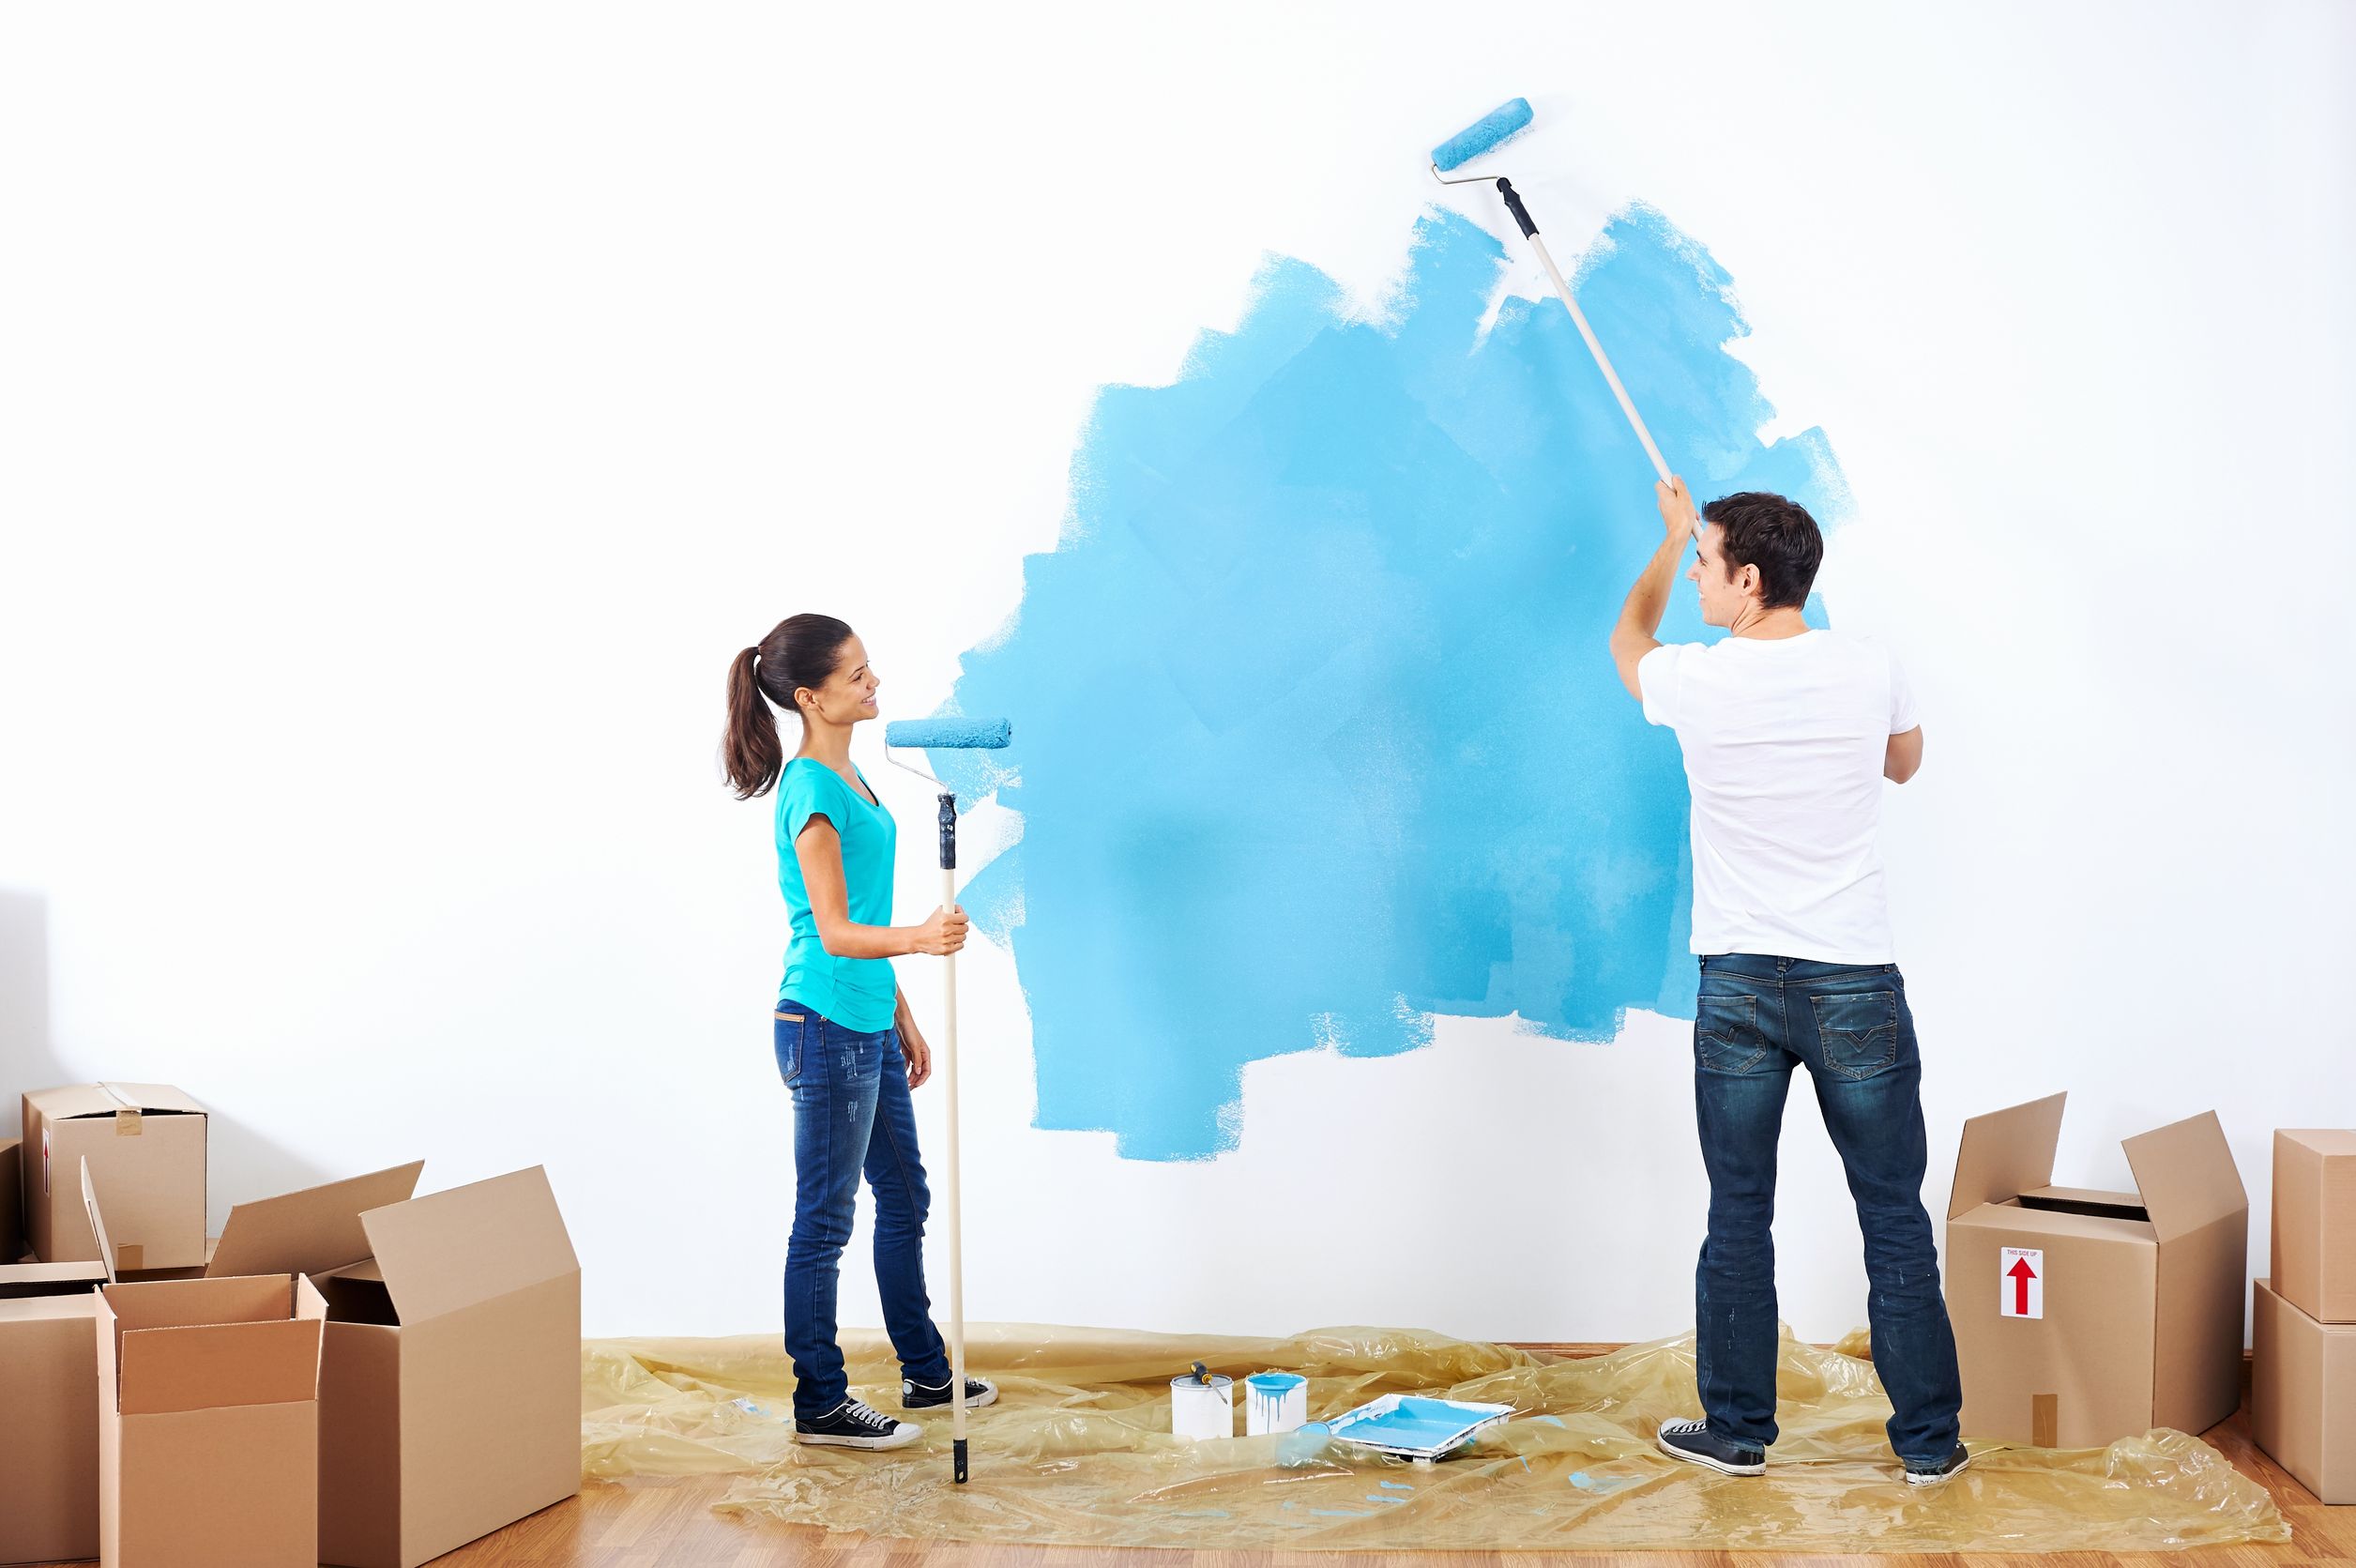
Then, using a criss-cross pattern of strokes, apply the paint to the wall. Afterwards, paint the same portion but this time with up and down strokes. This way, there will be no gaps in the paint job. There are various qualities of wall paint out there. Better quality paints will of course cost more, but the selection of your paint also depends on the colour you choose.
Maintain a 'wet edge' as you work. This means always rolling back into the section you just painted before it dries, so there is no visible seam between passes. Work in manageable sections of roughly one metre at a time, and do not stop mid-wall if you can help it.
Wrapping Up
Truth be told, there's no single 'correct sequence' that everyone must follow when painting an interior. Years of hands-on experience has enabled skilled painters to develop the approach outlined here, but painting your home yourself can lead to poor finishes, accidents and weeks, or even months, of disruption. Keep in mind you can always contact Premier Painting Company for a professional job completed within the time frame you require.
TL;DR: Interior Painting Order at a Glance
- Prepare first: clean, fill, sand, and prime before any paint goes on. This step determines how long the finish lasts.
- Top-down sequence: ceiling first, then trims, then cut-ins, and walls last. This prevents drips landing on completed surfaces.
- Sheen matters: flat/matt for ceilings, low-sheen/eggshell for walls, semi-gloss/gloss for trim and doors.
- Wet edge technique: always roll into the freshly cut-in edge while it is still wet to avoid visible lines.
- Allow proper drying time: most interior acrylics need at least two hours between coats. In Sydney's summer humidity, allow more.
- Next step: contact Premier Painting for a free quote. Call 1300 916 291 or request a quote online.
Prefer to Leave It to the Professionals?
Premier Painting's residential painting team covers Sydney, Central Coast, and Wollongong. Every project includes a dedicated Project Manager, full surface preparation, and is backed by a 7-year workmanship warranty. Call us on 1300 916 291 or request a free quotation online.
Frequently Asked Questions
Should I paint the ceiling or the walls first?
Always paint the ceiling first. Working overhead means drips and spatters are unavoidable, even for experienced painters. Starting from the top means any paint that lands on the walls can simply be covered when you get to them. Once the ceiling is dry, move to the trims, then the cut-ins, and finish with the walls.
Do I need to prime before painting interior walls?
Primer is essential in several situations: when painting over a darker colour, when covering a repaired or patched surface, when painting new plaster or bare substrate, or when switching from oil-based to water-based paint. On previously painted walls in good condition where you are applying a similar colour, a quality topcoat alone may be sufficient.
What paint finish should I use for walls, ceilings, and trim?
Use flat or matt paint on ceilings to hide imperfections and reduce glare. For walls, low-sheen or eggshell is the most practical choice as it is easy to wipe clean. For trim, skirting boards, and doors, semi-gloss or gloss holds up better against knocks and moisture and cleans easily. Wet areas like kitchen walls benefit from satin or semi-gloss.
How long should I wait between coats of interior paint?
Most interior acrylic paints require at least two hours between coats, though the manufacturer's data sheet is the authoritative guide. In Sydney's humid summer conditions, drying times can extend significantly, particularly in poorly ventilated rooms. Applying a second coat too soon traps moisture, leading to peeling or an uneven finish. When in doubt, wait longer.
Can I paint over old paint without sanding?
It depends on the condition of the existing paint. If the surface is clean, stable, and in good condition, and you are applying a similar colour and sheen, sanding may not be strictly necessary. However, a light sand improves adhesion and removes any surface contamination. If the existing paint is flaking, chalking, or shiny, sanding is essential before any new coat will bond properly.
Related Guides
- How to Prepare Your Sydney Home Before the Painters Arrive
- Different Paint Finishes: Choose the Right Sheen
- Interior vs Exterior Painting: What Sydney Homeowners Need to Know
- 4 Tips for Painting Ceilings Like a Pro
- Winter Painting Recommendations: Do's and Don'ts
About Premier Painting Company: Premier Painting has delivered residential, strata, and commercial painting across Sydney, Central Coast, and Wollongong for 28+ years. Dulux Accredited Painters, a member of Master Painters Australia, and recognised as a Strata Services Specialist Company. All residential work is backed by a 7-year workmanship warranty. Contact us on 1300 916 291 or visit premierpainting.com.au.


.png)
.png)