Best Way To Paint Trim & Crown Moulding

The stucco on the crown gives the home a finished look and elegance without making significant changes. However, a few extra steps will make the whole interior trim installation process more accessible and more accurate, resulting in better results- which is trim painting. But unlike regular wall paints, decorative trims and mould paints require specialisation in colour coordination, paint materials, tools and preparations.
So, what are the best trim-mould painting practices we should follow? Here is a list of decorative trim and crown mould painting steps you can follow for a stunning paint outcome.
Let's get into it.
1.At First, Understand the Type of Trims and Crown Molding You are Using
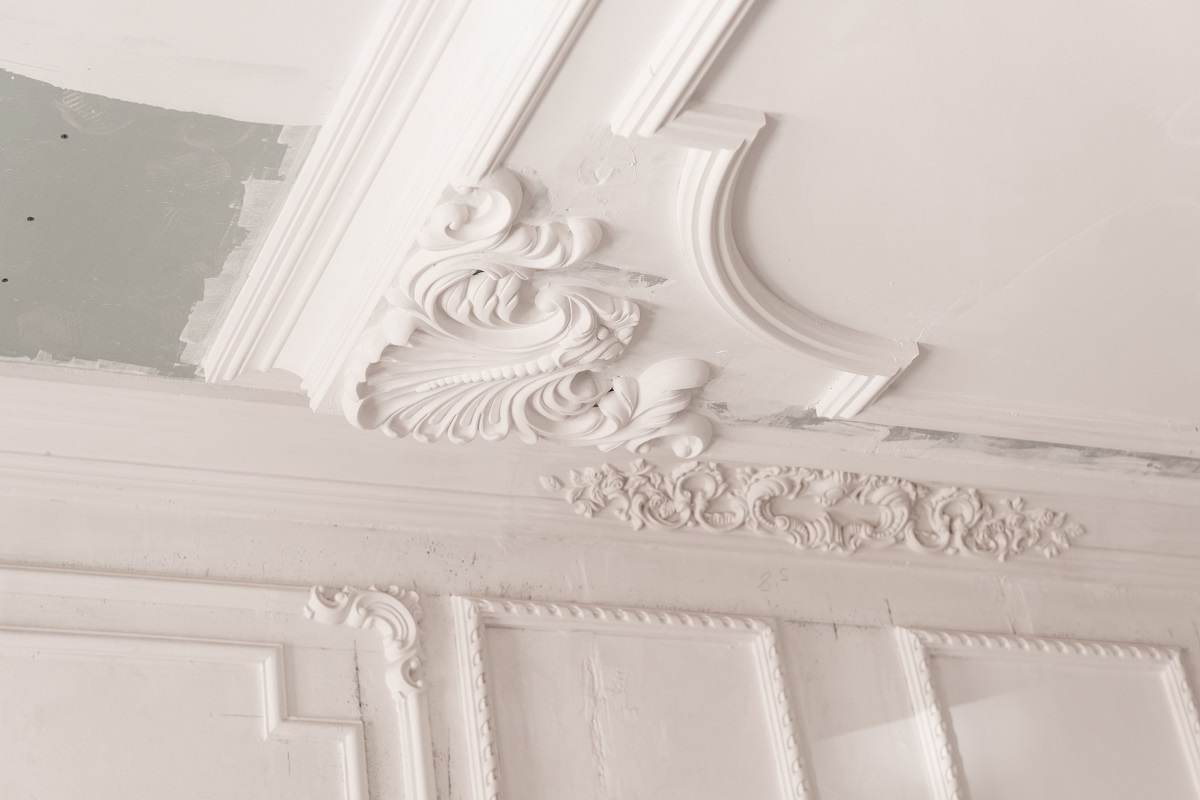
Crown moulding has long been one of the most popular decorative moulds, even today, to cover the joints where walls and ceilings meet. It is installed in the house. It doesn't have to be glamorous, but many homeowners use a small panacea to enhance their room.
This strip is the architectural "crowning" of the room to decorate the transition between the walls and the ceiling. Crown mouldings, also known as cornice mouldings, usually feature intricate silhouettes, but there are many styles of crown mouldings. Before starting the trim painting preparation, make sure you understand what you are getting into.
It is not just about the types of trims but also about the common materials like solid wood, plaster, Polystyrene, Medium-Density Fiberboard (MDF) crown moulding alternative to solid wood and more. Just remember, the whole paint job will defer from different trim materials. So consult with Dulux Accredited residential painters to rest assured.
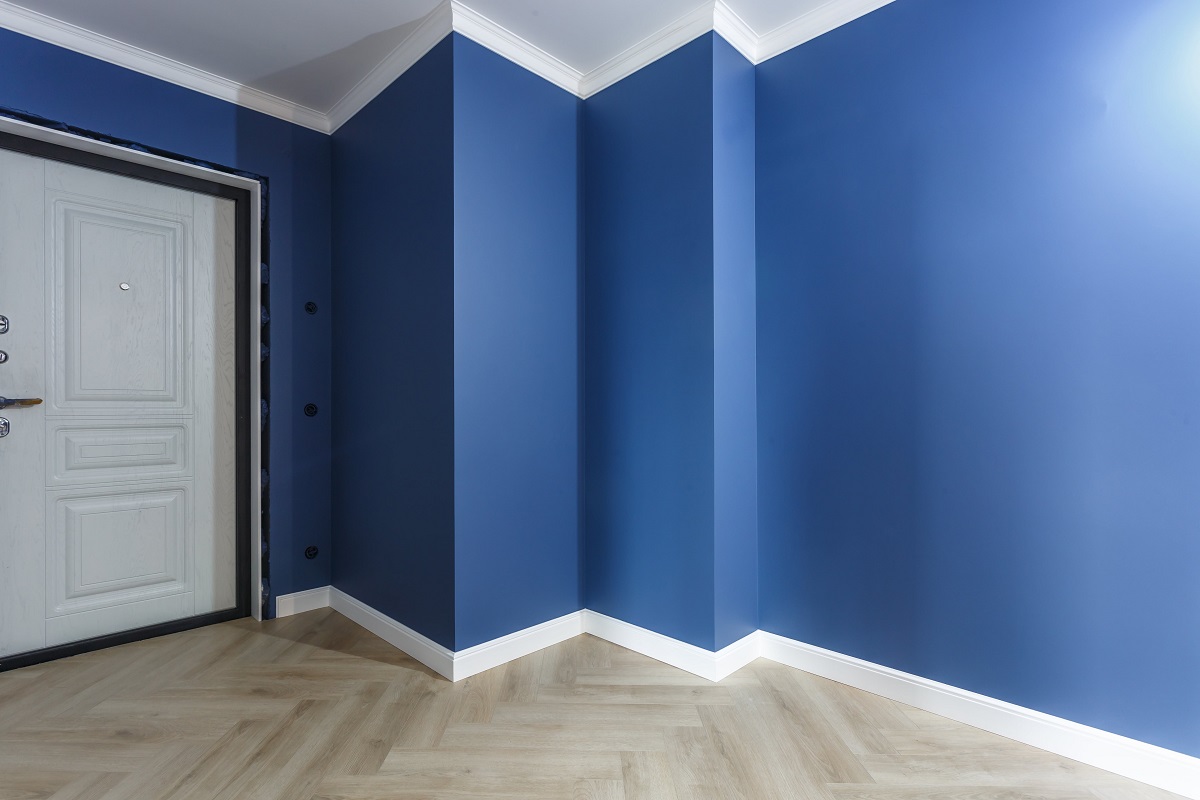
2.Pick the Colour Palettes that Effortlessly Coordinate the Interior Theme
As a standard rule, plan to colour all of the trim during the primary regions of the residence the equal shades to create a unified impact from room to room. However, in more personal spaces, including bedrooms and family spaces, you might need to jazz it up with the more specific interior wall and trim combinations.
You can paint all the trim equally within the interior unless you want to emphasise particular elements around the ceiling or beans. For example, salvaged vintage trims can be left stripped and unstained, at the same time as the baseboard, crown moulding, door frames, window frames etc., on the other hand, can be painted in muted tones like creamy white or natural wood colour for a more elevated look.
And if you've got one-of-a-kind sorts of ceiling moulding for every room or phase of your household, you could need your moulding to shape the appearance of the character rooms in place of making plans for one colour during the house. However, many homes have identical trim kinds, so consider the moulding fashion earlier than making concrete colour choices.
3.Be Careful with Choosing the Right Type of Paint
When it comes to painting trim and mouldings, you can purchase paints specific for this purpose. In general, trim colours have a thicker consistency than wall paints with a glossier finish and smoother application. If you use regular paint instead of trim paints, you need to think about what kind of finishing material you want.
It depends on many factors, such as what type of finish you use, where you use it, and the room's overall appearance. If you want a finish that helps you stand out without mixing with the crown moulds, you also need to make sure the paints don't have a flat or matt finish. Instead, gloss or semi-gloss enamel paint gives it a bold, distinctive look that helps it stand out in the room.
But for the best result, consider mildew-resistant acrylic finish paint with no VOC (Volatile Organix Compounds). These painting choices will help you clean the trims easily, preventing sagging and brush marks.
4.Use Special Brushes for Intricate Paint Job
Painting can seem like a whimsically possible project, but there are many things to consider when choosing the right trim painting brush, especially when you want clean lines and minimal errors. Especially when it comes to finishing work, the right brushes can distinguish between a sloppy finished project and a clean, neat paint job.
Buying a brush is one of the cheapest equipment purchases for a painter, contractor, handyman or homeowner. The brush you use to paint the trim or baseboard may vary depending on the size of the baseboard and the type of paint used.
A bevelled brush with a diameter of 2 inches or 2.5 inches is usually adequate. It is best to paint the baseboard with a nylon or poly-nylon brush, especially when using latex trim paint. The nylon/polyester blend brush is easy to clean and goes well with all types of latex paint.
The combination of the durability of nylon and the shape retention of polyester is the hallmark of a high-quality brush that provides a high-quality trim paint outcome. What's more, these durable brushes are built to take on various paint projects. So, with proper care, nylon/polyester brushes can last for years.
5.Don't Skip on Cleaning and Priming
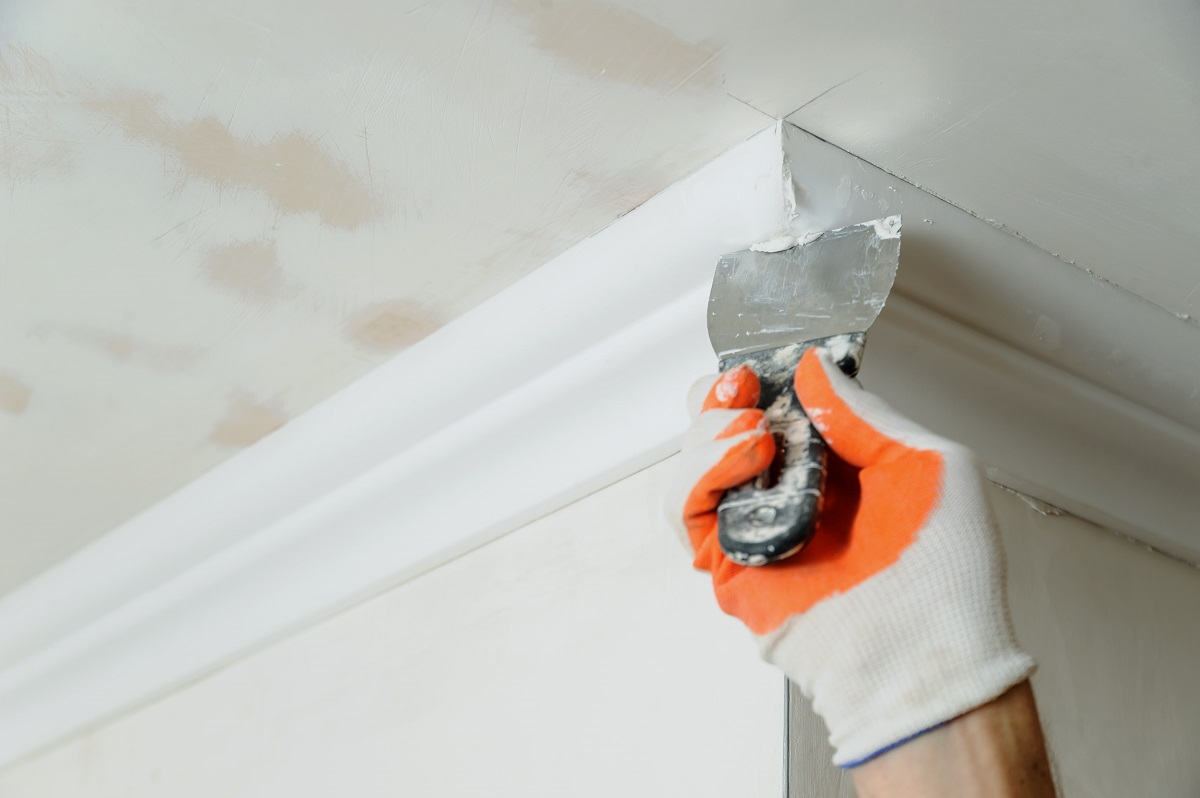
After all of the paintings of having your trim equipped for painting, you subsequently get to bust out your paintbrush! There are plenty of various primers with a purpose to paintings tremendous for priming your trims or moulds.
If you're going to use an oil-primarily based pinnacle coat totally, you must consider using an oil-primarily based totally primer. On the other hand, suppose you're using a water-primarily based pinnacle coat. In that case, you definitely must use a water-primarily based primer, even though you may prefer to use an oil-based primer.
Since oil-based primer generally tends to launch too many VOCs and stink up your house, you can consider both your paint and primer water or acrylic-based. Oil paints are also more challenging to smooth up because they require paint thinner, and also you should nicely cast off that thinner. On the other hand, the water-based primer may be easier to wipe and clean any stains or specks of dirt.
6.Focus on Sanding and Smooth Paint Finish
One coat of paint usually does not hide the underlying colour and lustre of the trim paint finish. And if you don't sand the surface between coats, the surface may have a rough texture.
To achieve a smooth surface, sand the finish before applying each paint. Sand the finish with a fine sanding pad. The sponge penetrates gaps where sandpaper cannot enter and applies uniform pressure.
After that, consider using the first coat of paint and let it dry for at least 24 hours. After 24 hours or so, lightly sand it again for a completely smooth trim before applying the second coat of trim paint finish.
Final Verdict
Decorative interior trims and crown mould painting is a detailed-oriented job. Every single stroke of paint has to be precise, measured and careful. You can almost compare it with intricate artwork! So, unless you have a lot of experience handling delicate tasks like this, we recommend you take professional painting assistants who are just a call away!
With decades of excellent artistry and hands-on expertise, Premier Painting Company has a team of highly-skilled residential painters in Sydney ready to help you out! If you are planning to give your interior a magical retouch with stunning decorative trims, request a quote today!


.png)
.png)