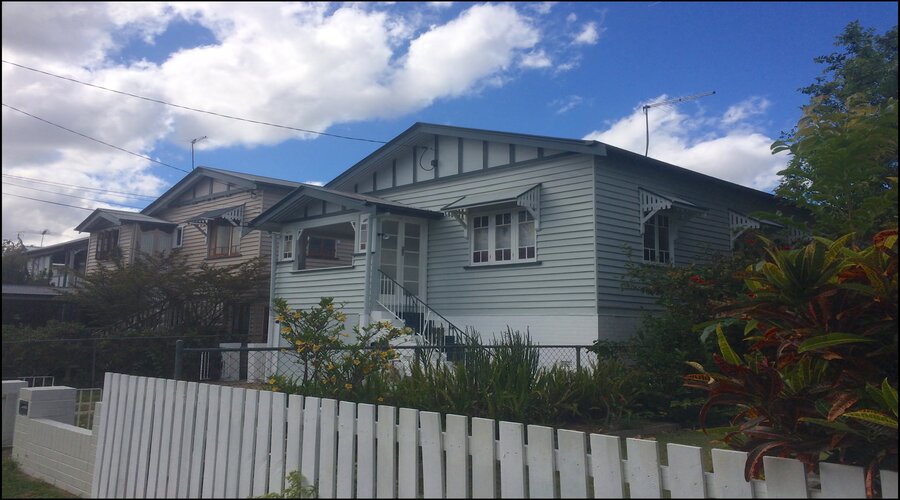
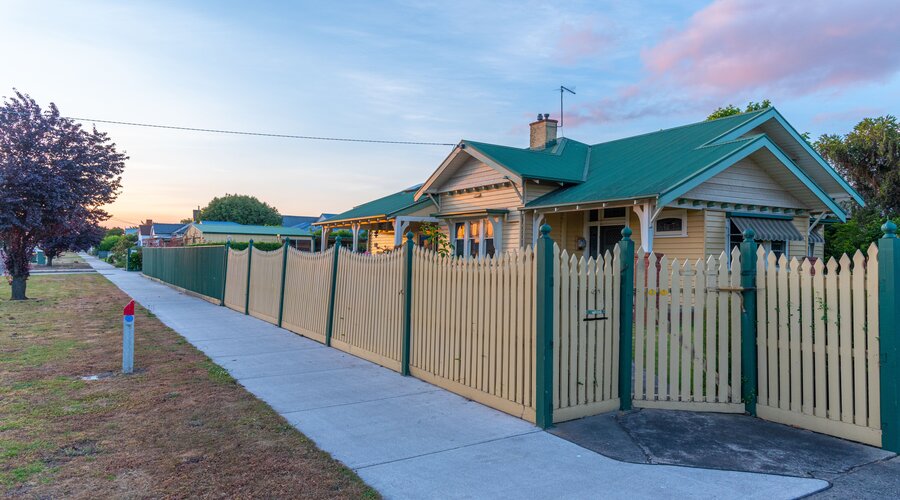
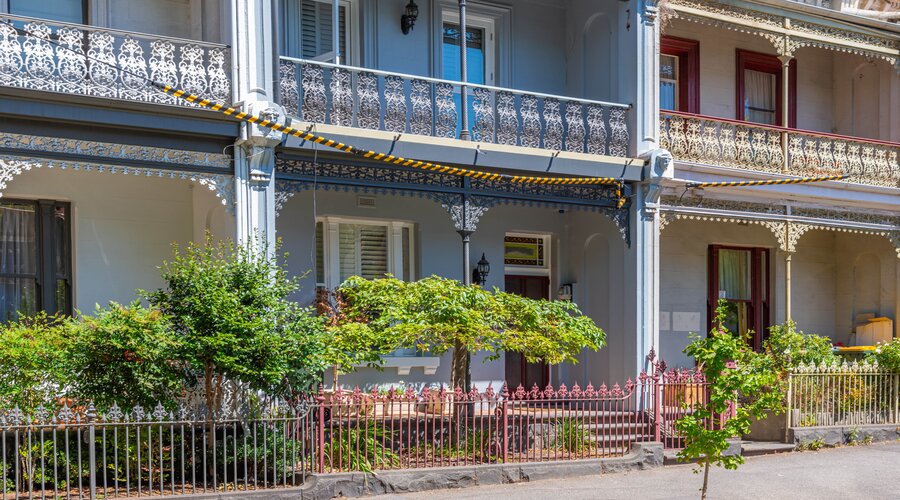
Whether you are a property owner or a landlord, you'll need to keep your fencing maintained and looking new. Not only will a well-kept fence ensure the security and privacy of your home, but it can also boost your curbside appearance, appealing to potential renters and buyers. By regularly painting your fence, you're ensuring its durability and longevity.
In this article, we will walk you through the basics of preparing and painting your fence, as well as include some handy tips if you're looking to do this DYI.
So without further ado, let's begin!
Tip-1: Check the weather condition
Before you set aside a day to paint your fences, it's important to make sure the weather conditions are right. That's why we recommend checking the forecast at least 24 hours in advance before blocking off your day for painting. Regardless of what your fence is made of, to ensure perfect results, you should choose a warm, dry day of about 20°c where the humidity is low or moderate.
The early to mid-Summer and Spring seasons are best for painting fences, as you can avoid excess moisture at lower humidity levels. As well, your paint will dry quickly and evenly. However, be sure not to start the fence painting job at temperatures of 30°c or above, as excessive heat and high UV can result in paint flaking due to drying too quickly.
Tip-2: Prepare your surface thoroughly
Now that you've picked the perfect day, it's time to prepare. Before even opening your paint tin, it's vital that you properly prepare and prime the surface to be painted.
First, we want to ensure a clean surface. Do so by removing any old nails or screws sticking out of the panels, any dirt or cobwebs, and trim the grass and weeds around the fence's base. Next, you'll want to give the fence a thorough clean based on the material. Common fencing materials like aluminium, PVC, wrought iron, or composite fence/split rail fences generally require power washing with water and bleach soluble to rid the surface of all mildews and mould.
If repainting a wooden fence, check that the wood is still in good condition, free of water damage and termite infestation. After a brush down of any dirt, sand down the cracked or peeling areas to ensure an even surface.
Tip-3: Use the necessary tools and appliances
Depending on what fencing material your working with, you'll require different tools and applicators to get the job sorted. It's recommended for fencing materials like aluminium or wrought iron to use sprayers and power painters to ensure an even spread. These power painters are available in cordless models and are popular among professional painters for their efficient application in high-volume painting jobs.
If you decide to go for power painters or sprayers, make sure to use the appropriate protective gear such as a mask, gloves, and suitable protective drop sheets.
For wood or vinyl fencing panels, use a roller and paintbrushes to get the job done. If using paintbrushes alone, we recommend a large 4-inch brush for coverage and a small 2-inch brush for trimming around the edges and corners. Don't forget to wear gloves and uses drop sheets to protect the surrounding areas.
Tip-4: Choose the right paint or stain to use
There are two options available for colouring wood or vinyl fencing panels- painting and staining. Fence painting is the conventional, less expensive approach; however, it does require more maintenance to upkeep its appearance. If choosing to paint your wooden fences, we recommend oil-based paint for its durability. While for metal fences, we recommend you use automotive epoxy or enamel paints.
If staining your fences, note that while the process is comparatively costly, the results will last longer and adhere to the surface better than painting. As well, staining does not require additional preparations like the painting process.
If you're unsure which application best suits your fence, make sure to consult with a professional painting service or Dulux contractor to help you understand your fencing requirements make the correct choice.
Tip-5: Apply a coat of primer
Your fencing has to withstand both the weather and environmental changes all year round. These harsh conditions are one of the reasons why fences are more susceptible to damage and mould. It's also why a single coat of paint is never enough to protect the fencing surface, and we always recommend applying a layer of high-performance primer.
By applying either a plastic or metal primer to your surface, the fencing panels will develop a thick, protective shell allowing for better paint application. Paint primers can even conceal old stains allowing for an even finish.
For old fences, you may require multiple coats of primer to ensure protection. When purchasing, make sure the primer is a high-performance undercoat that increases the topcoat's adhesion and durability.
Tip-6: Follow the correct fence painting techniques
Whether you're looking to DIY or contact a professional residential painter, it's essential to understand how your fencing material will affect your paint job to ensure everyone is informed upfront and understands the job at hand.
For DIYing your wooden fencing panels, as we discussed using either use a brush or a roller. When applying paint, ensure you move the tool in the wood grain direction, as this technique will prevent drips and excess paint around the edges.
While for metal fencing panels, we recommend a sprayer for optimum coverage. For small fences or fencing with details, a bristle brush may come in handy. If you decide to use a brush for painting, make sure to go in one direction to avoid dripping. If using a sprayer, do the same, spraying in the downwind direction.
Final verdict
With these simple steps, you'll be ready to overhaul your fence and give your exterior a brand new look. Our team of Dulux accredited residential painters and contractors in Sydney are prepared to assist with the entire fence panel painting process. If you reside in Sydney or nearby suburbs, reach out today for residential painting-related queries and services. You can also subscribe to our newsletter for our tips and tricks every month.
By Tony Conway, Managing Director, Premier Painting Company
Quick answer: Commercial painting in aged care facilities in NSW requires careful product selection...


.png)
.png)