How to Remove Water Stains from Walls and Ceilings

Water stains are those odd-looking damp portions of your walls or roof, which look unpleasant. It’s a common problem that needs to be taken care of, as early as possible. This could be a DIY project or, in more severe cases, you might require the help of professionals.
Here are some key factors to consider in order to find a practical solution to your water stain problem.
Before you begin
Unfortunately, getting rid of a stain is not as easy as just slapping a coat of paint here or there. It requires a considered approach. If you decide to hurry and skip a step, stains will come back; be sure of that!
So you have to proceed appropriately, while trying to get rid of those ugly and irritating water stains.
First, find the source of the leak

The source of a water stain is often something simple; a leak from a heating appliance, plumbing leak or water which has come through the ceiling. These leaks leave behind mineral deposits which are dry, discoloured and often smell. This doesn’t look good on the wall at all.
You have to find the source of the leak in order to repair it properly. This first step is perhaps the most important. Improper repair jobs will fail, and soon the water will return, leaving you painting the area again and again. Do not proceed to the next step before you have found and sealed the source!
Cleaning and preparing the area
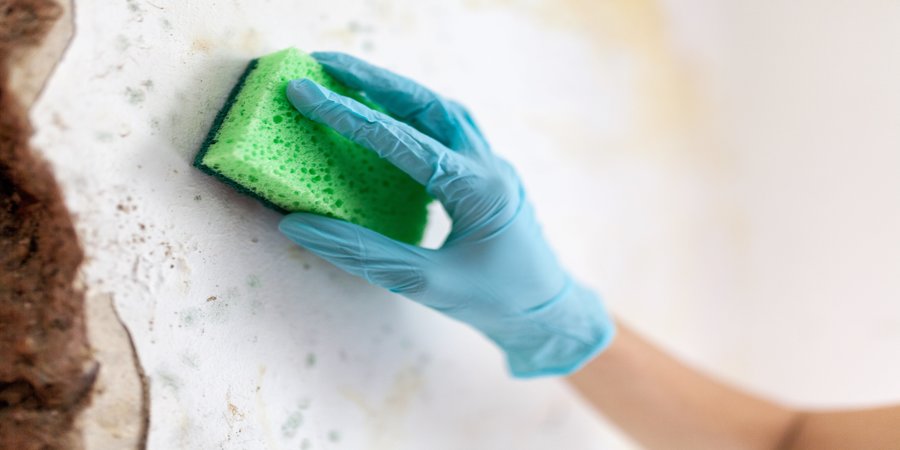
Once the source of the entry is completely sealed, you’re ready to face the enemy itself; the water stain mark on the wall or roof. Approach the spot which needs repainting. Start with bleach and water mixed to a 1:3 ratio.
If you can’t find bleach, use any bathroom cleaning solution which contains bleach. This will not only remove any mould or mildew, but also notably fade the stain itself.
The next step is desiccating the spot, which means making sure it is dry to allow the paint to adhere to the surface. It helps to have enough time to dehydrate the area. To do so, you might want to use a dehumidifier if you’ve had access to one.
It should be noted that sometimes cleaning and drying might not be enough, and you may need to replace some of the materials there.
Finally, start the paint job
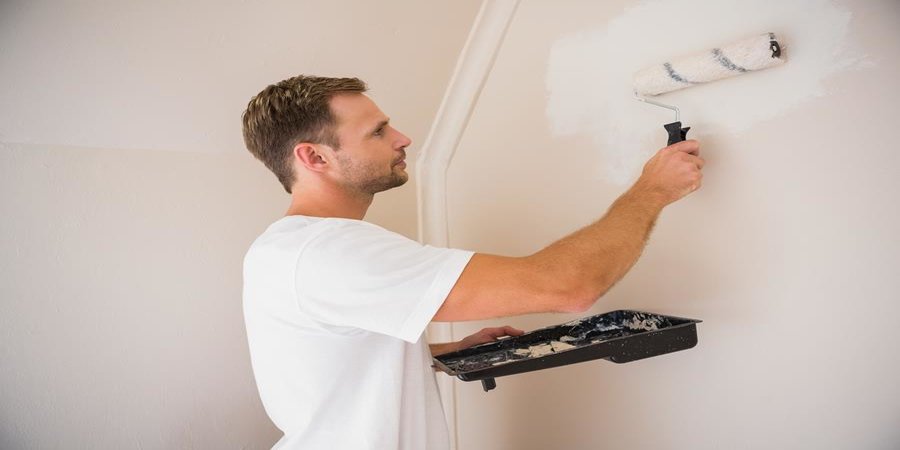
First, cover the stained area with a coat of stain-blocking primer; cover the stained surface completely. When it comes to base priming, you should choose an oil-based, mould-resistant, stain-blocking primer over conventional latex paint. Once dried, latex-based paint won’t cover the stain thoroughly.
You should leave the primer coating for at least 2 hours; refer to the instructions on the painting package, but the more time you allow, the better.
Once the primed area is finished and dried, you’ll notice it’s a few shades darker or lighter than the surrounding area. Now is the time to apply the finishing touches.
- Try to get a colour for your ceiling that matches precisely with the previous colour.
- Next, apply it to the primed area. Use a ⅜-inch nap cover roller for a smooth ceiling, or a ¾ -inch to 1-¼ -inch nap for a textured ceiling.
- Wait a couple of hours till the first coat dries. After that, apply a second coat to ensure even coverage for the affected area.
- Let the second coat dry too; now have a look at the ceiling. It should look as though there were never any water stains to begin with.
These are the vital steps to remove stains from the roof, but process can differ for walls.
After you seal the leak that caused the water stain in the first place, rinse that area with a solution of water and bleach of 3:1 ratio. This will prevent the growth of mould and mildew. After that, you have to dry the area thoroughly. If the bleach and water solution fails to eradicate water stains, you can repaint. Then you can prime the wall to protect it from staining again.
To sum up
Water stains on the wall or ceiling don’t look nice and pose a risk for your home. If you are in such a situation, take immediate action. For starters, try to find the source of the leak and seal it if possible. If you can successfully do that, move on to the next steps, and hopefully, this guide will help you on your little DIY project.
However, if you need professional help – you know who to call! Premier Painting is one call away, and our experts will make sure the task is done to the highest quality. No hassle for you!


.png)
.png)