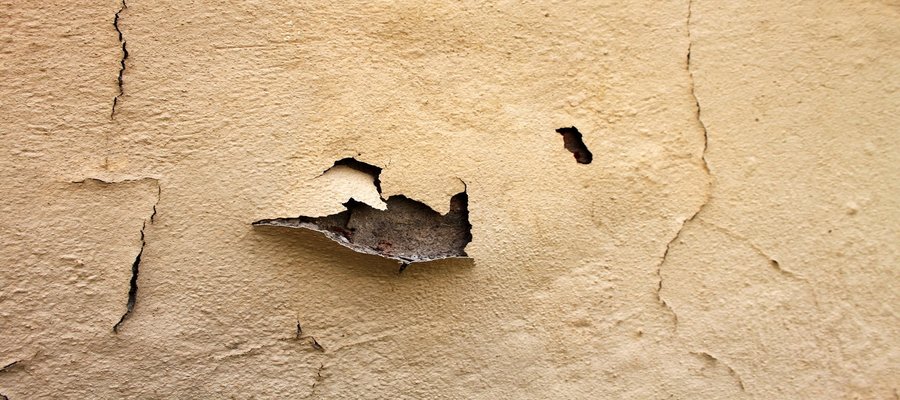
How to Fix Peeling Paint

Australian homeowners are often more likely to run into problems when it comes to maintaining their paint. With humidity and other weather conditions making it difficult to ensure perfect conditions, it's not uncommon to find unsightly peeling paint around your home. As tiresome as the maintenance can seem, our painting contractors of Sydney have put together six easy steps to follow in order to combat paint that's peeling.
Local DIY experts warn that even the best paint job will still require maintenance in the long run. This is because primer and paint can't protect water from sneaking its way into your wood. That's why it's important to annually check for any paint peeling as it could be an indicator of a leak or inadequate ventilation of that area.
It's important to undertake these inspections annually as you want to avoid rot to your wood. Fixing your localised peeling paint will also keep it from spreading. It will also save time if in the future you decide the whole house needs a new exterior paint.
Step One
Identify why your paint is peeling. There are a variety of reasons why this problem is occurring in your home. As mentioned above humidity is a leading factor as moisture seeps into the wood and causes paint to peel. Other factors include dirt left on the surface, bad weather/conditions when the original job was undertaken in, and Acrylic paint is applied on top of oil paint. For more information, as to why your paint is peeling speak to your local painting professional.
Step Two
Once you've identified the problem it's now time to prep your work area. When working on peeling paint, you should ensure you are wearing a safety mask, glasses and gloves to protect yourself from any Lead particles, stray splinters or harmful fumes. You will also want to lay down a plastic trap to protect your flooring and remove any furnishings to avoid damages.
Step Three
Clean and prep the wood. To begin this process, you'll need to take your paint scraper and remove all peeling paint. You can move on to the next step when the paint becomes difficult to scrap away. Then take your wire brush and sweep up the scraped area. Be sure to take your brush over the edges of the area, and if your paint starts to peel again, you will need to repeat the first step.
Step Four
Repair any damages. Now that you've removed all excess paint it's time to pay attention to the wood itself. To fix any cracks or holes apply a thin layer of wood filler using a putty knife. Ensure that you're using a flexible putty knife as you want to smoothly spread the filler across your wooded area. Make sure to extend the filler out, but don't worry as this will get sanded away later. After you've applied the filler make sure to refer to your manufacturer's directions as to how long it will need to dry.
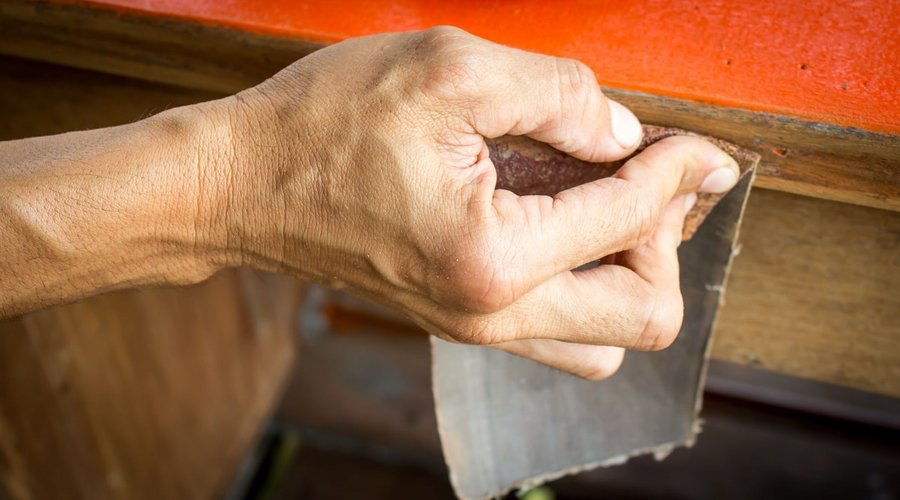
Step Five
Smooth out your surface. Using fine-grit sandpaper, either electric or manual smooth down the area. Be careful not to press too hard as you will remove the filler and expose the bare wood, resulting in you having to follow steps 3 through 5 again.
Step Six
You now should be ready to Prime and Paint your sanded down area. Be sure to follow the directions and allow the surface to dry according to the manufacturer's instructions before painting. When painting a second coat may be necessary.
After following these steps your freshly painted area should blend seamlessly with the rest of your paint.


.png)
.png)